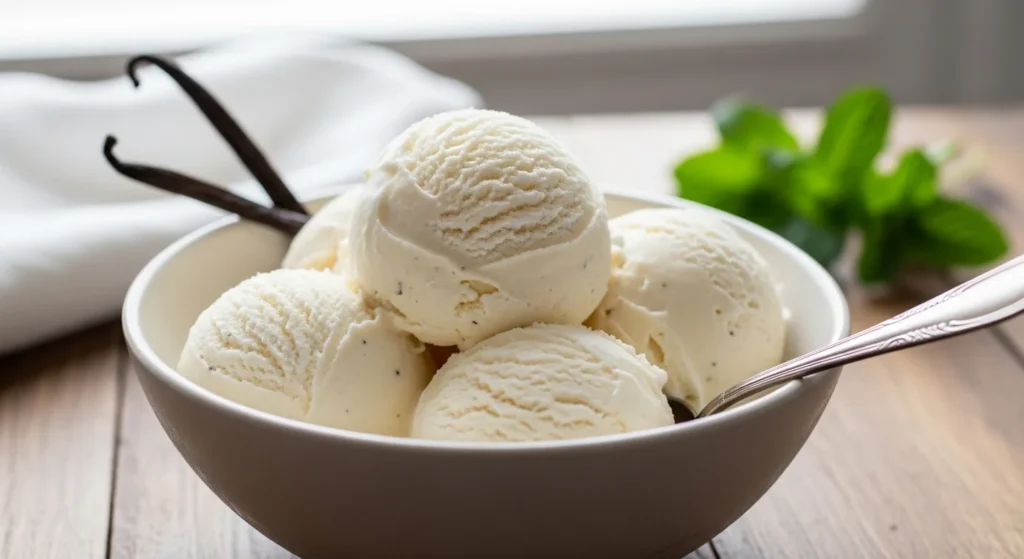
Ice cream at home sounds like it requires machines, freezing bowls, and a lot of planning—but it really doesn’t. With the right method, you can make creamy, scoopable ice cream using nothing more than your freezer, a bowl, and a whisk. No churner. No special tools. Just simple ingredients and a little patience.
This is the kind of recipe that feels like a secret once you learn it—and it’s endlessly customizable.
How No-Equipment Ice Cream Actually Works
Traditional ice cream machines do two things:
- Freeze the mixture evenly
- Incorporate air for a light texture
No-churn ice cream replaces those steps with:
- Whipped cream for built-in air
- Sweetened condensed milk for smoothness and structure
The result is rich, creamy ice cream without icy crystals.
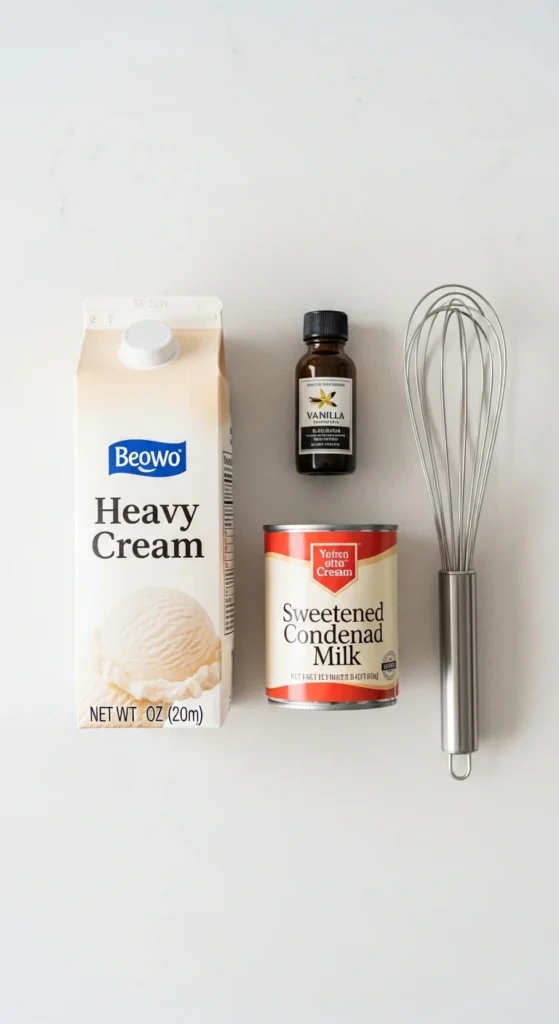
The Only Base Ingredients You Need
This method relies on just two core ingredients.
- Cold heavy whipping cream
- Sweetened condensed milk
That’s your base. From there, you can add:
- Vanilla extract
- Cocoa powder
- Fruit purée
- Crushed cookies or chocolate chips
Why this works:
- Condensed milk adds sweetness and prevents freezing solid
- Whipped cream traps air, mimicking churning
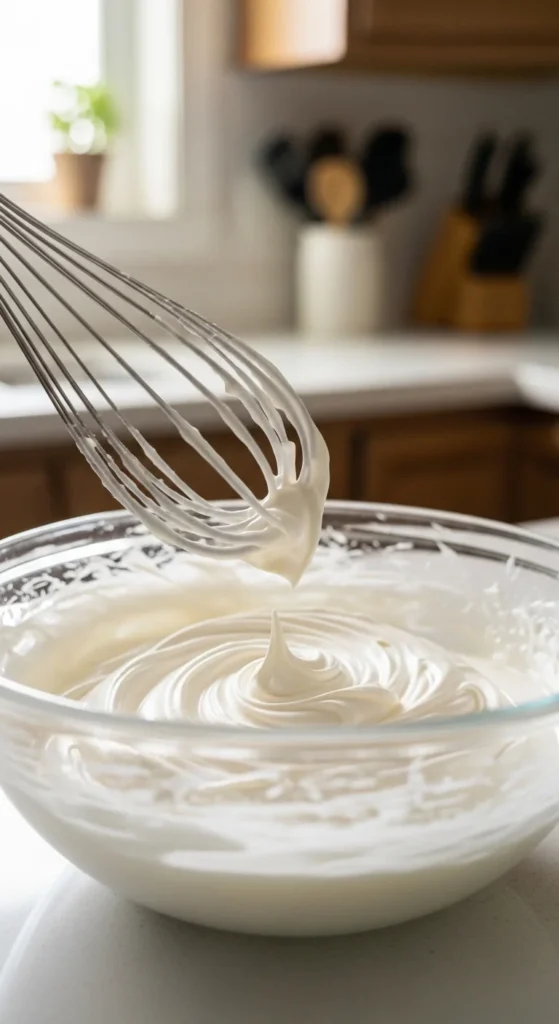
Step 1: Whip the Cream to Soft Peaks
Start with very cold cream—it whips better and holds air longer.
How to do it:
- Pour cream into a large bowl
- Whip until soft peaks form
- Stop before it looks stiff or grainy
You want it:
- Fluffy
- Light
- Spoonable, not clumpy
Overwhipping leads to a dense, buttery texture—so stop early.
Step 2: Fold in the Condensed Milk Gently
This step determines how creamy your ice cream turns out.
- Pour condensed milk into the whipped cream
- Add vanilla or flavorings now
- Fold gently with a spatula
Key rule:
Don’t stir aggressively.
You’re preserving air, not knocking it out.

The mixture should look thick, glossy, and cloud-like.
Step 3: Add Mix-Ins Without Weighing It Down
This is where things get fun.
Great mix-in ideas:
- Chocolate chips or chunks
- Crushed cookies or brownies
- Swirls of caramel or chocolate sauce
- Mashed strawberries or mango
Tips:
- Keep add-ins small
- Fold lightly
- Don’t overload (¼–½ cup max)
Too much stuff = icy, dense ice cream.
Step 4: Freeze the Right Way
Transfer the mixture to a freezer-safe container.
For best texture:
- Smooth the top
- Press parchment or plastic wrap directly onto the surface
- Cover tightly
Freeze for:
- 6 hours minimum
- Overnight for firm scoops
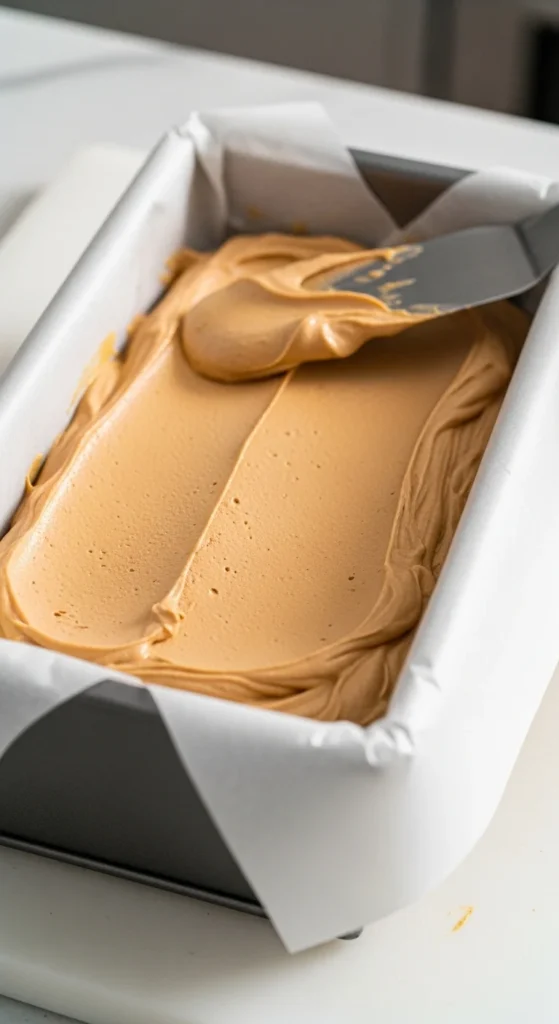
This surface cover helps prevent ice crystals.
How to Scoop Like a Pro
Homemade ice cream freezes firmer than store-bought.
Before serving:
- Let it sit at room temperature for 5–10 minutes
- Use a warm scoop or spoon
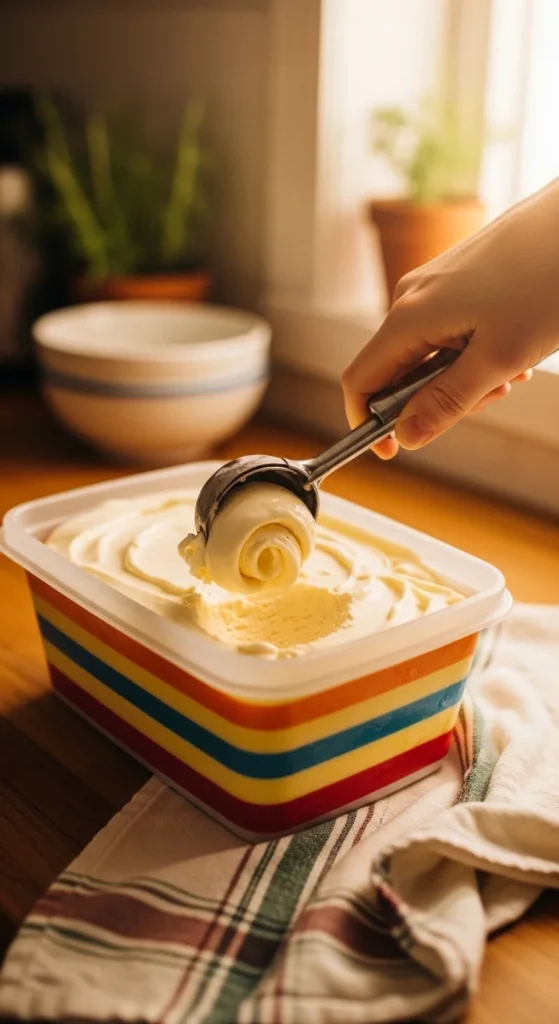
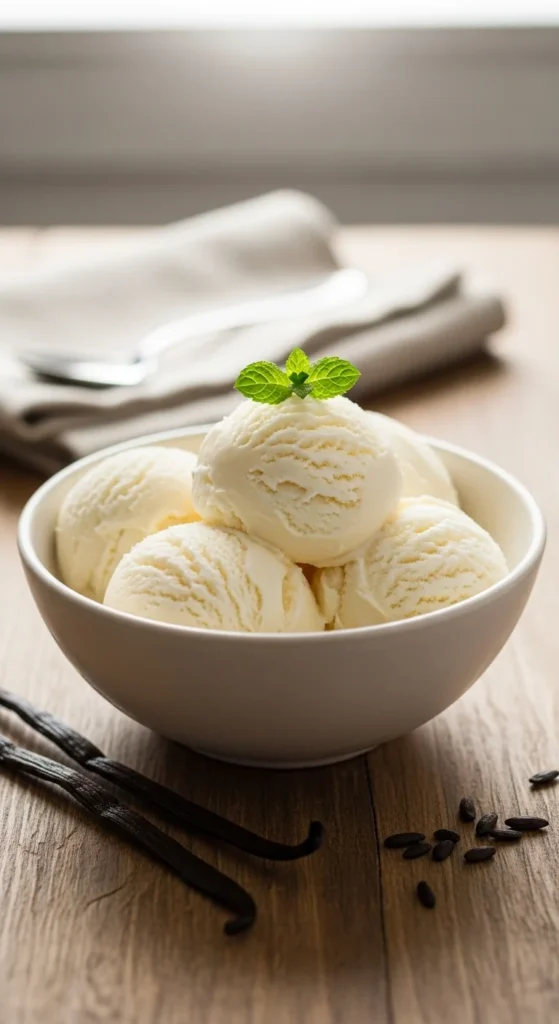
You’ll get perfect, creamy scoops every time.
Common No-Churn Ice Cream Mistakes
- ❌ Using low-fat cream
- ❌ Overwhipping the cream
- ❌ Stirring instead of folding
- ❌ Skipping surface coverage in the freezer
Each one affects texture more than flavor.
Easy Flavor Variations to Try
Once you master the base, the possibilities are endless.
Try:
- Chocolate: add ¼ cup cocoa powder to condensed milk
- Strawberry: swirl in reduced strawberry purée
- Coffee: dissolve instant espresso in condensed milk
- Cookies & cream: fold in crushed chocolate cookies
Same method, new dessert every time.
Final Takeaway
You don’t need equipment to make amazing ice cream—just the right technique. This no-churn method delivers rich, creamy results with minimal effort and maximum payoff.
Save this recipe, pin it for later, and enjoy homemade ice cream anytime the craving hits. 🍨✨