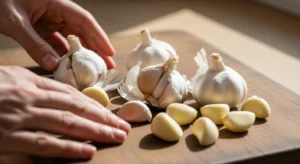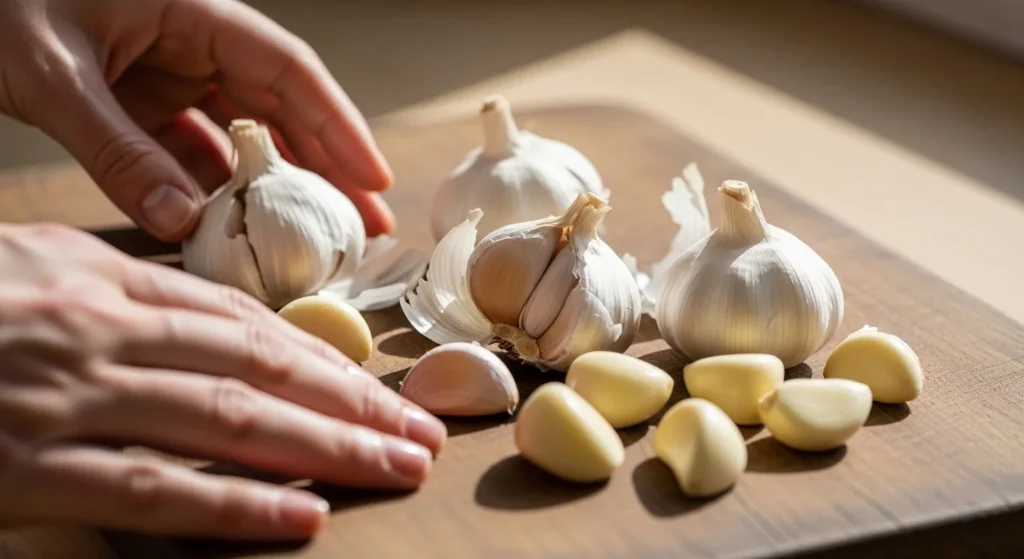
If you cook even semi-regularly, you know the struggle: peeling garlic leaves your fingers sticky, smelly, and weirdly hard to wash clean. The good news? You don’t need to suffer—or waste money on pre-peeled cloves.
This step-by-step guide walks you through the best garlic-peeling methods, matched to how much garlic you’re using and how much effort you want to spend—all while keeping your hands clean and odor-free.
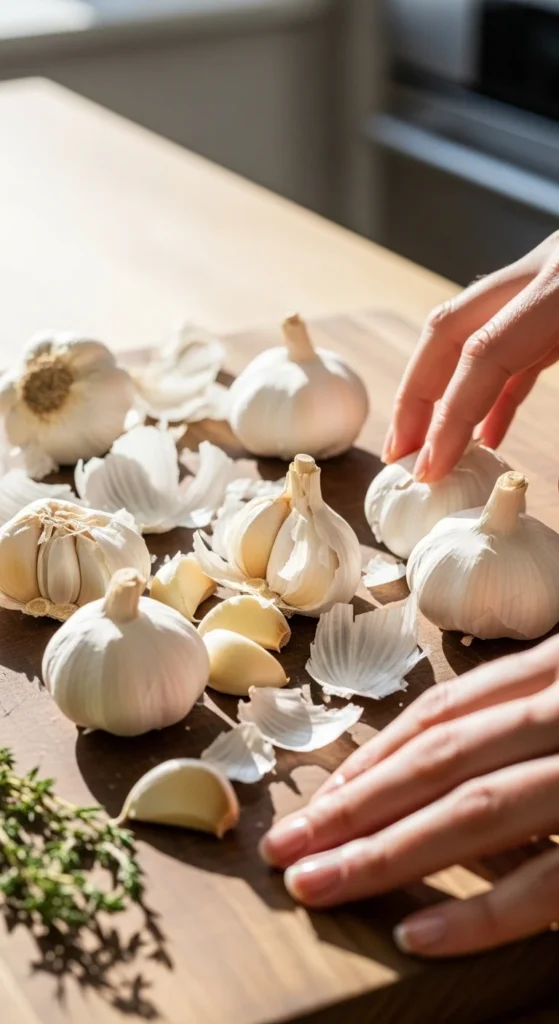
Step 1: Match the Method to the Amount of Garlic
The biggest mistake people make is using the same peeling method for every situation. What works for one clove is terrible for ten.
Quick decision guide
– 1–2 cloves → knife smash or twist
– 3–6 cloves → silicone roller
– A whole head → shake method
– Bulk prep → jar or bowl shake
Choosing the right approach is the fastest way to avoid sticky fingers.
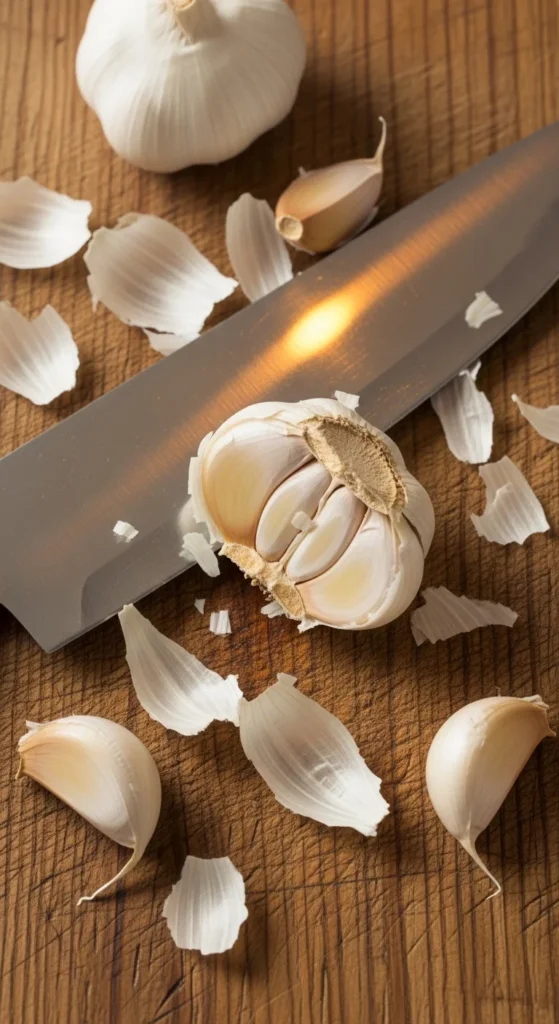
Step 2: The Classic Knife Smash (Best for 1–2 Cloves)
This is the most reliable single-clove method—and nearly hands-free.
How to do it:
1. Place the clove on a cutting board
2. Lay the flat side of a chef’s knife on top
3. Press down gently until the skin cracks
4. Pinch the loosened peel and discard
You’re not crushing the garlic—just cracking the skin. Done correctly, the peel slides off cleanly with almost no residue on your fingers.
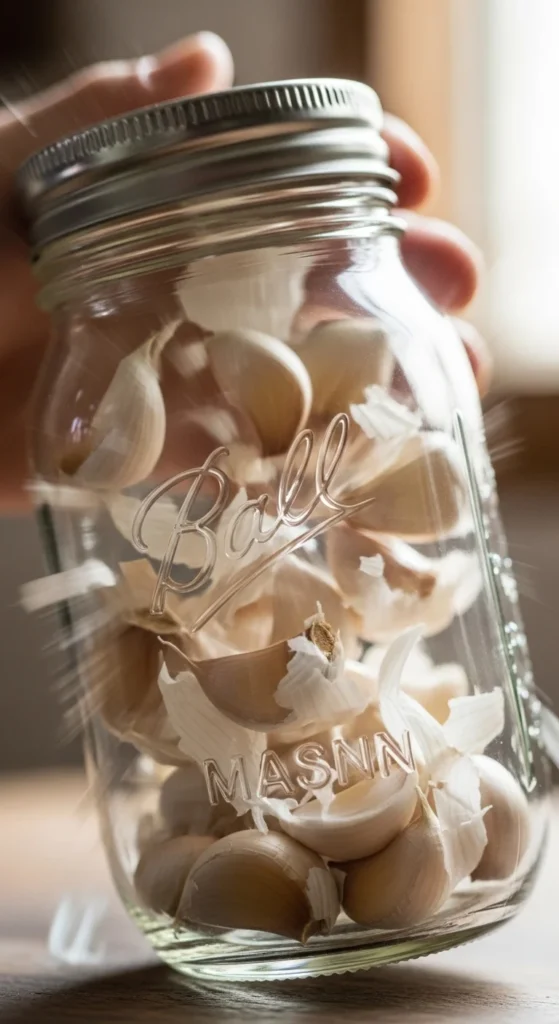
Step 3: The Two-Bowl or Mason Jar Shake (Best for Bulk)
If you’re peeling a whole head—or more—this is the fastest no-touch method.
How it works:
– Place unpeeled cloves in two metal bowls (or a mason jar)
– Seal tightly
– Shake hard for 10–30 seconds
When you open it, most cloves will be fully peeled.
When to use it
– Meal prep
– Large recipes
– Party cooking
When not to
– Just one or two cloves (overkill and noisy)
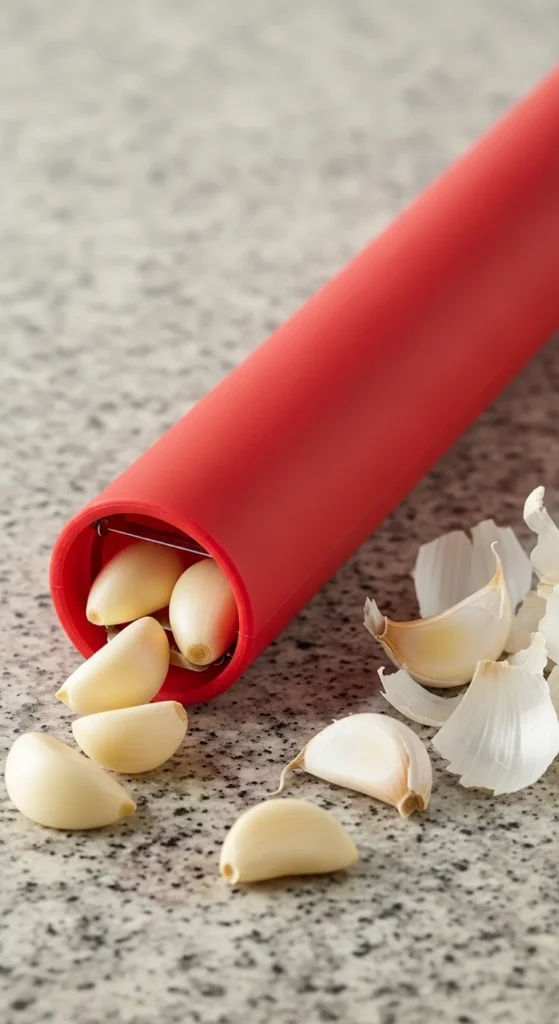
Step 4: Roll It Away With a Silicone Peeler (Zero Smell Method)
Silicone peelers are popular for a reason: they keep garlic oils completely off your skin.
How to use:
– Drop cloves into the tube
– Roll firmly back and forth for 5–10 seconds
– Shake out clean cloves
Top-rated options include silicone peeler, which handles multiple cloves at once. This method is quiet, fast, and ideal if you’re sensitive to garlic smell.
Step 5: Microwave Trick for Speed (10–20 Seconds)
Heat loosens garlic skins by creating steam between the clove and peel.
How to do it safely:
1. Place cloves (or whole head) in the microwave
2. Heat for 10–20 seconds max
3. Let cool slightly
4. Skins slip right off
This is perfect when garlic skins are stubborn or tight—especially older or heirloom varieties.
Important:
Don’t overheat, or the garlic will start cooking.
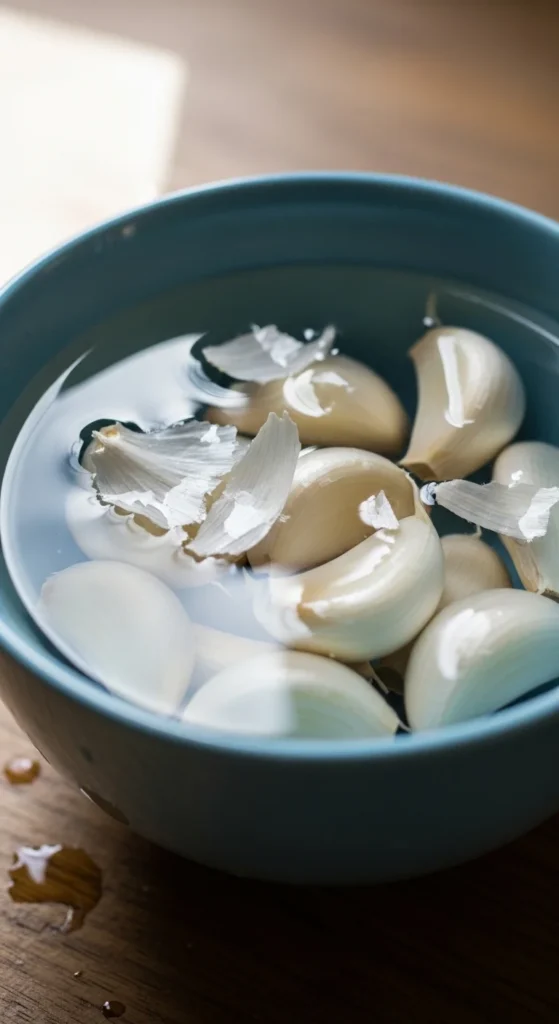
Step 6: Warm Water Soak (Plan-Ahead Hack)
If you’re prepping garlic in advance, soaking works surprisingly well.
Method:
– Submerge cloves in warm water
– Soak 5–30 minutes (or overnight for very tight skins)
– Drain and peel easily
This method minimizes friction and reduces oils transferring to your hands.
Step 7: Twist, Don’t Peel (Minimal Contact Trick)
For cloves that just won’t cooperate:
– Hold both ends of the clove
– Twist gently in opposite directions
The skin splits naturally, letting you slide it off without rubbing garlic oils into your fingers.
This works especially well when your hands are already slightly oily or wet.
Step 8: Gadgets That Peel and Press
If you want zero contact from start to finish, combo tools are worth considering.
It presses garlic with the peel on, then ejects the skin afterward—no peeling step required.
Common Garlic-Peeling Mistakes
If your fingers still feel sticky, you’re likely:
– Peeling with bare dry hands
– Using the shake method for too few cloves
– Skipping the initial crack or heat step
– Overhandling peeled cloves
Less contact = less odor. Always let tools do the work.
Final Takeaway
There’s no single “best” way to peel garlic—only the right method for the situation. Smash for one clove, shake for many, roll for zero smell, and microwave when skins won’t budge.
Once you stop peeling garlic the hard way, sticky fingers become a thing of the past.
Save this guide, try two methods this week, and enjoy garlic without the mess 🧄✨