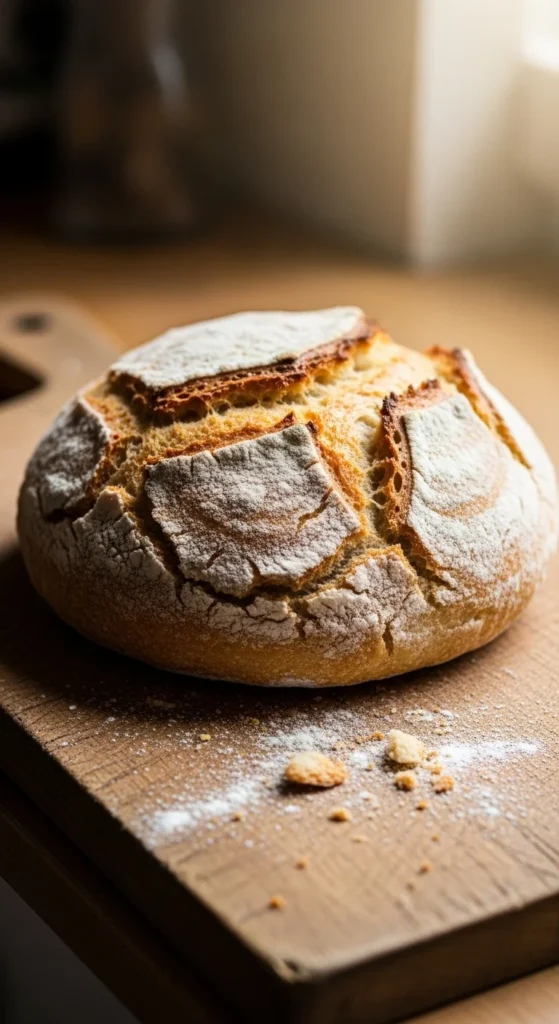
There’s something almost magical about pulling a deeply golden, crackly loaf of bread out of your oven especially when you barely touched the dough. No kneading. No fancy equipment. Just time, heat, and a little confidence. If you’ve ever thought artisan bread was “too hard,” this recipe is about to change your mind.
This is the kind of bread that makes your kitchen smell like a bakery and makes you feel like a pro—even on your first try.
Why No-Knead Bread Works So Well
Traditional bread relies on kneading to develop gluten. No-knead bread skips that step and lets time do the work instead.
Here’s what’s happening:
- A long, slow fermentation strengthens gluten naturally
- High hydration creates an open, chewy crumb
- A very hot oven (often with a Dutch oven) creates that signature crust
The result?
A loaf that’s crisp on the outside, airy on the inside, and shockingly easy.
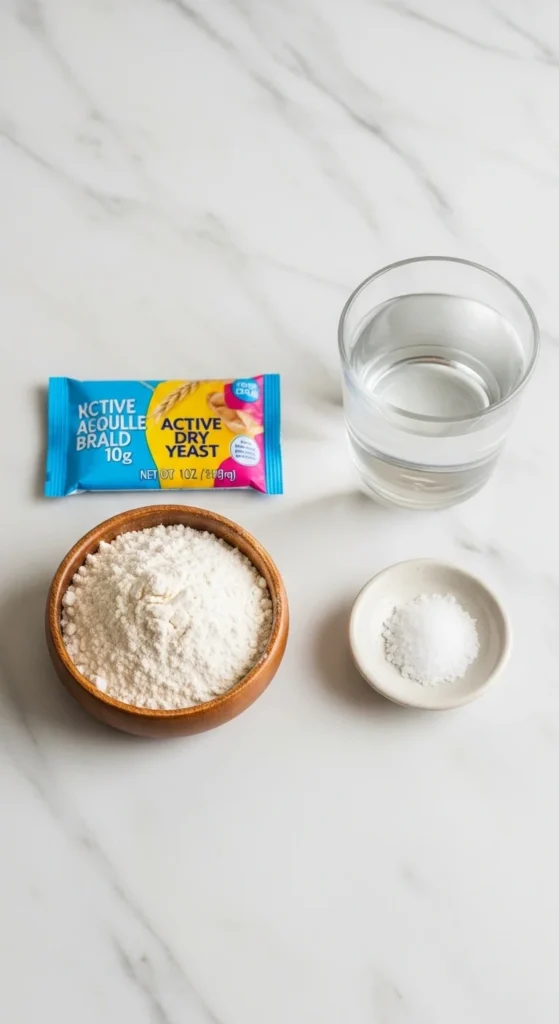
Simple Ingredients You Probably Already Have
You only need four basic ingredients—no eggs, no oil, no sugar.
- All-purpose flour (or bread flour for extra chew)
- Salt
- Instant or active dry yeast
- Water (room temperature)
That’s it. Seriously.
Pro tip:
If your kitchen is cool, slightly warm the water (not hot) to help fermentation.
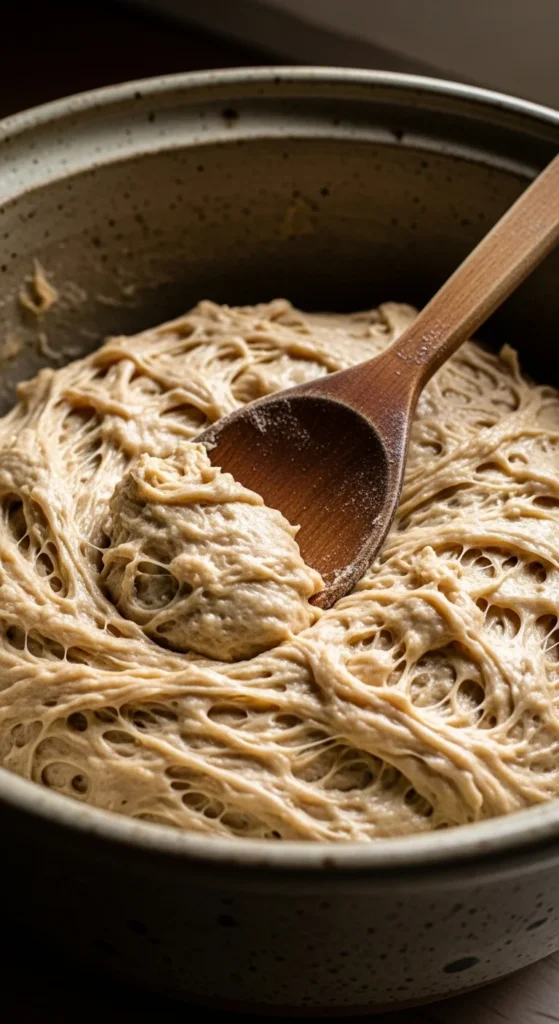
Step 1: Mix the Dough (No Elbow Grease Required)
In a large bowl:
- Stir flour, salt, and yeast together
- Add water and mix until a shaggy, sticky dough forms
It will look messy. That’s perfect.
You’re not kneading. You’re just making sure there are no dry patches.
Cover the bowl with plastic wrap or a clean towel.
Step 2: Let Time Do the Heavy Lifting
This is where the magic happens.
- Let the dough rest 12–18 hours at room temperature
- The surface should be bubbly and slightly domed
- It will smell mildly yeasty, not sour
Long fermentation = better flavor and structure.
Shortcut not recommended here.
The wait is what gives this bread its artisan soul.
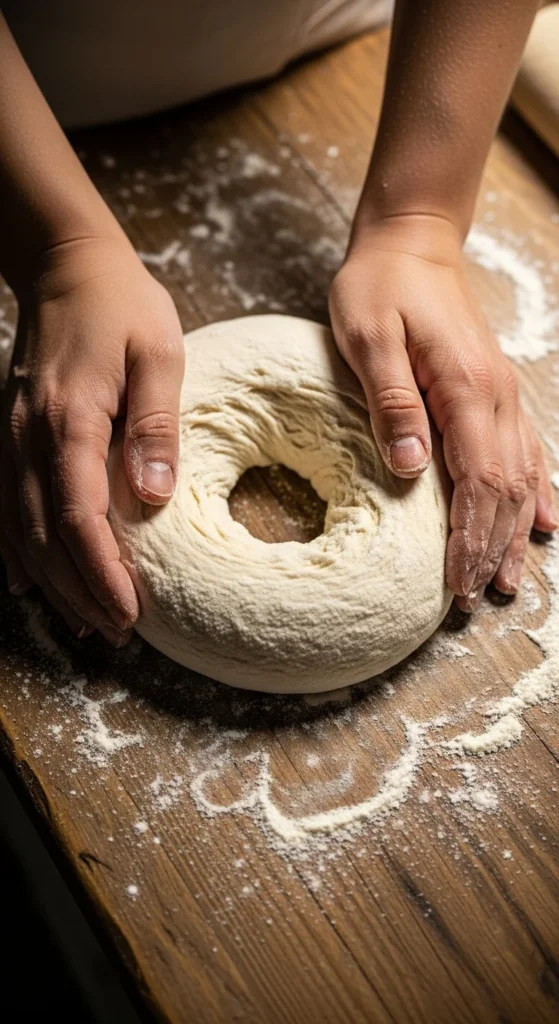
Step 3: Shape Gently and Preheat Like You Mean It
Turn the dough onto a well-floured surface.
- Fold it over itself once or twice
- Shape loosely into a round
- Don’t deflate it
Let it rest while your oven preheats to 450°F (230°C).
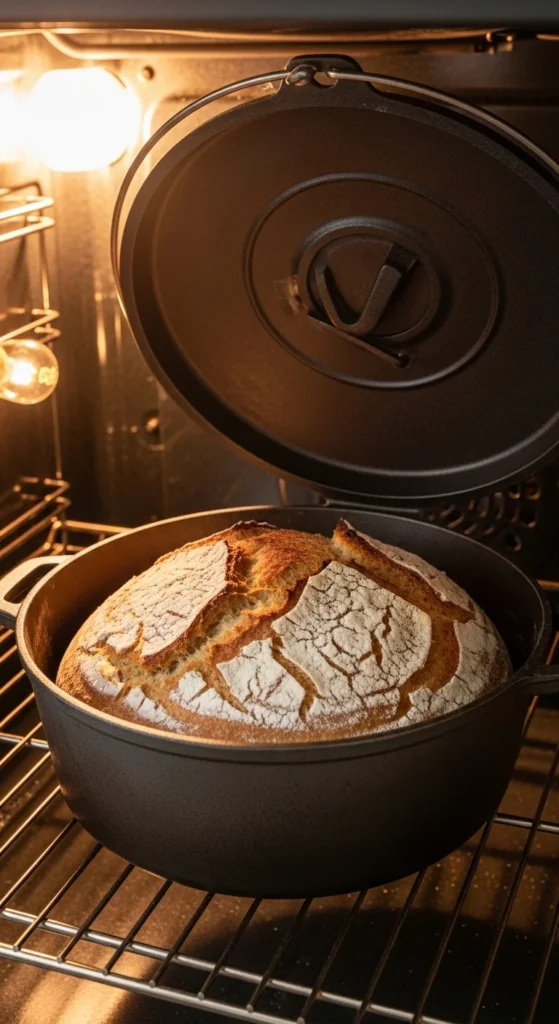
If using a Dutch oven, place it inside the oven while preheating.
Step 4: Bake for That Crackly, Golden Crust
Carefully transfer the dough into the hot Dutch oven.
- Cover with the lid
- Bake for 30 minutes
- Remove lid and bake another 10–15 minutes
This uncovered time is what creates that deep color and crisp crust.
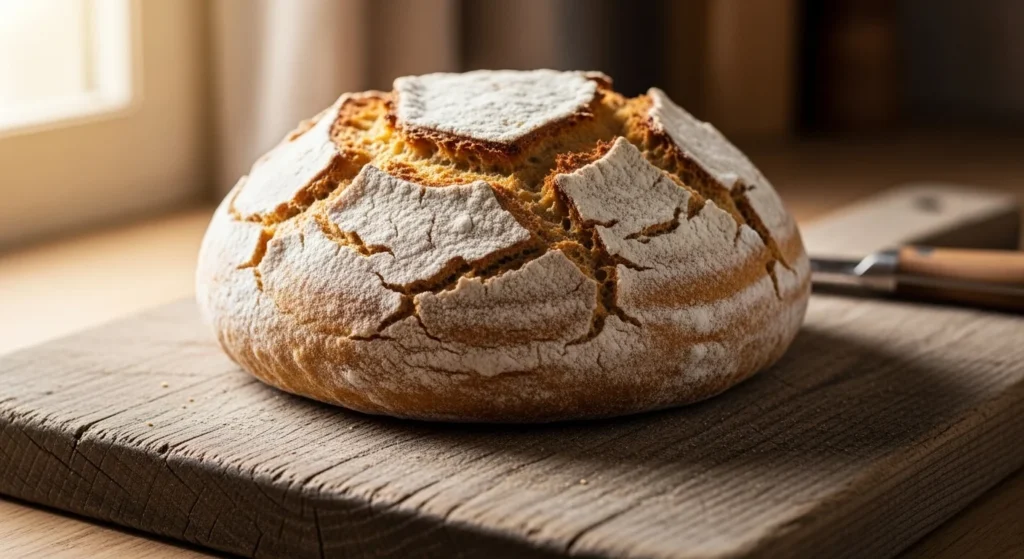
You’re looking for:
- Deep golden brown color
- Hollow sound when tapped
- Cracks along the surface
Common No-Knead Bread Mistakes (and Easy Fixes)
Bread too flat?
- Dough may be over-proofed
- Try shortening fermentation by 2–3 hours
Dense inside?
- Oven not hot enough
- Make sure your Dutch oven is fully preheated
Pale crust?
- Bake uncovered a little longer
- Don’t rush the browning stage
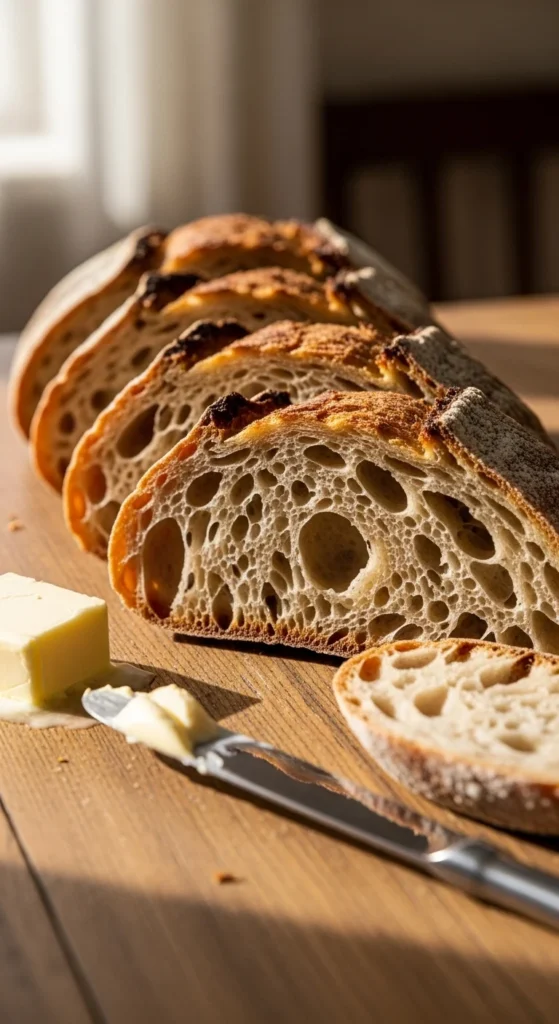
How to Cool, Slice, and Serve
This part is tough—but important.
Let the bread cool at least 30 minutes before slicing.
Cutting too early traps steam and makes the crumb gummy.
Serve it:
- With butter and flaky salt
- Alongside soups and stews
- Toasted for breakfast with jam
Final Takeaway
No-knead bread proves that great baking isn’t about effort—it’s about patience. Once you try this method, it’s hard to go back.
Save this recipe, pin it for later, and the next time you crave bakery-style bread… just make it yourself. 🍞✨