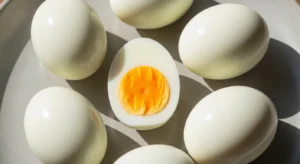
Nothing’s more frustrating than perfectly cooked eggs ruined by pockmarked whites and stubborn shells. The good news? Clean-peeling eggs aren’t luck—they’re technique. When you control heat, pH, and steam, the shell practically slips off.
This step-by-step guide pulls together science-backed methods and kitchen-tested hacks so your eggs peel cleanly every single time.
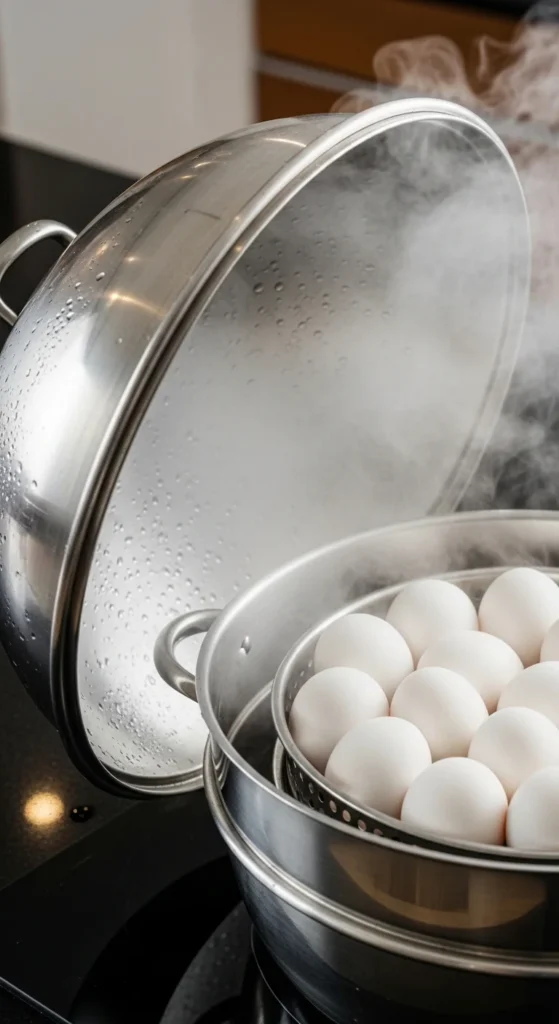
Step 1: Use the Steam Method
(The Game Changer)
If you remember one thing, make it this: steam beats boiling.
Why steaming works:
– Rapid heat sets the outer egg whites quickly
– Whites shrink slightly away from the shell membrane
– Less bonding = fewer divots
How to steam eggs:
1. Bring 1 inch of water to a rolling boil
2. Place cold eggs in a steamer basket
3. Cover tightly and steam:
– 12–13 minutes for hard-boiled
– 6 minutes for soft-boiled
4. Remove immediately to ice bath
In side-by-side trials, steaming produced dramatically smoother peels than boiling.
Step 2: Shock in an Ice Bath (Don’t Skimp on Time)
As soon as eggs come off the heat, they need a full cold shock.
Ice bath rules:
– Use lots of ice + cold water
– Chill for at least 10 minutes
What this does:
– Contracts the egg white
– Pulls it away from the shell membrane
– Stops overcooking (no green ring)
Short ice baths = partial peeling disasters.
Step 3: Older Eggs Peel Better
(Here’s Why)
Fresh eggs are great for frying—but terrible for peeling.
Best peeling age:
– 1–2 weeks old, refrigerated
As eggs age:
– pH rises naturally
– The membrane loosens
– Whites stick less aggressively
If you meal-prep eggs, rotate cartons so your “boiling eggs” aren’t farm-fresh.
Step 4: Baking Soda (When You’re Stuck With Fresh Eggs)
If all you have are fresh eggs, baking soda can help.
How to use:
– Add 1 teaspoon baking soda per quart of water
Why it works:
– Raises pH
– Mimics the effect of aged eggs
It won’t fix bad technique—but combined with steaming, it noticeably improves peel quality.
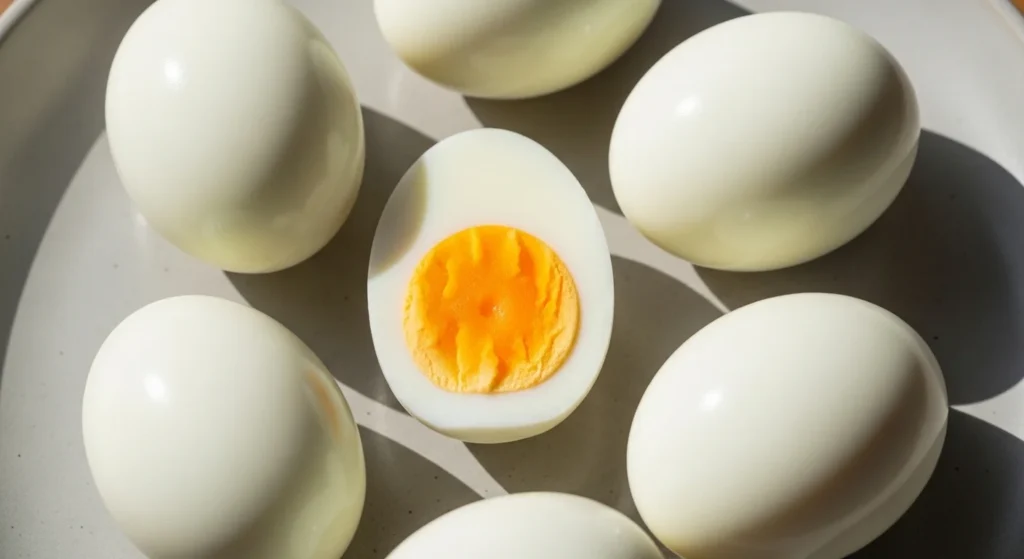
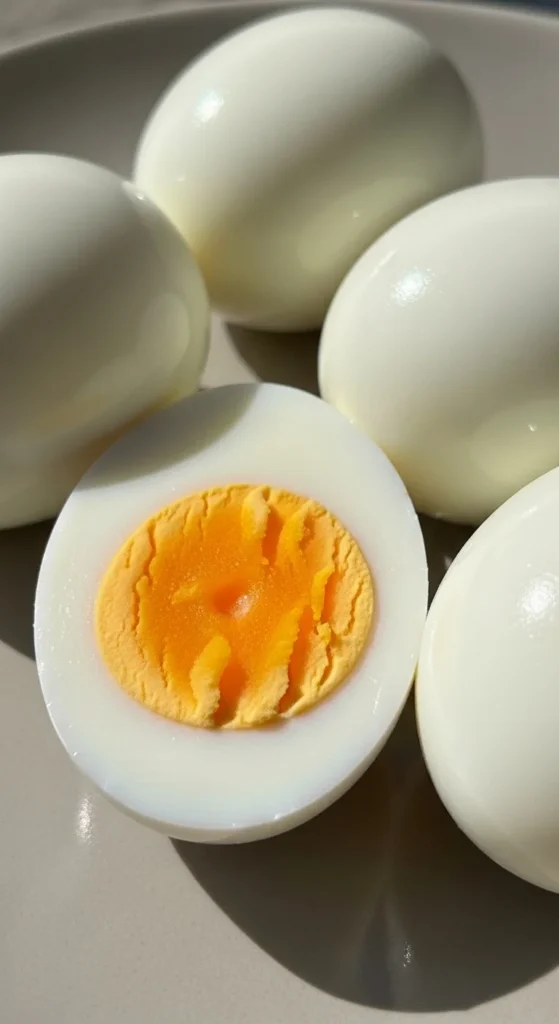
Step 5: Time the Cook for a Perfect Yolk
Overcooked eggs don’t just get chalky—they peel worse.
Reliable timing (after steam starts):
– Medium-large eggs: 12–13 minutes
– Smaller eggs: 11 minutes
This avoids:
– Green sulfur ring
– Rubberized whites
– Weak membrane separation
Step 6: Start Peeling From the Wide Bottom
The wide end of the egg hides a secret weapon: the air pocket.
Peeling sequence:
1. Tap the wide bottom first
2. Crack gently all over
3. Roll lightly to “spider-crack” the shell
That air pocket gives you a clean entry point under the membrane.
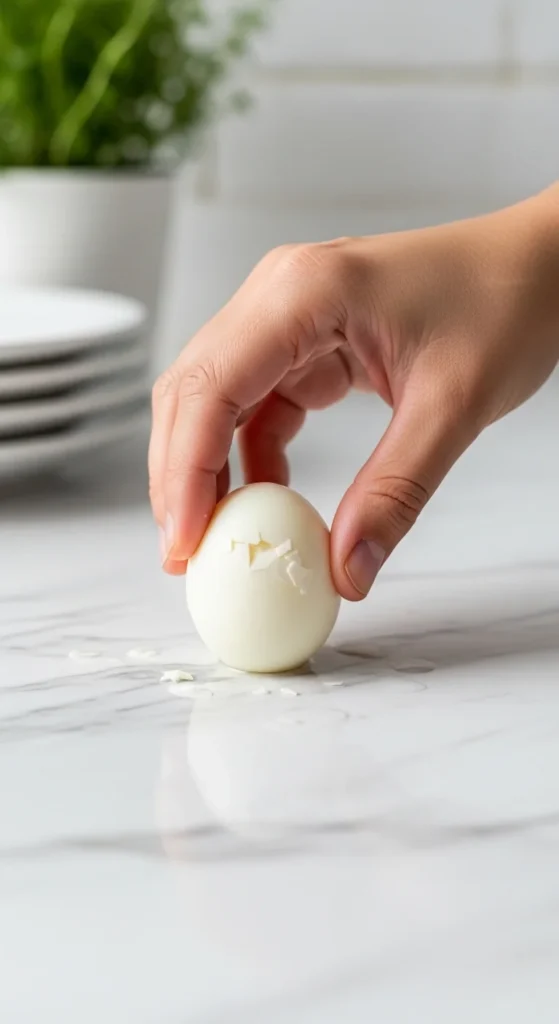
Step 7: Peel Under Running Water
Water is not optional—it’s a lubricant.
Why it works:
– Slips between membrane and white
– Washes away shell fragments
– Reduces tearing
Use cool running water and keep the egg submerged as you peel.
Step 8: Crack–Roll–Peel (The Clean Finish)
Once cracked:
– Roll gently under your palm
– Lift shell off in large pieces
– Let water do the work
If you hit a stubborn spot:
– Slide a spoon under the membrane
– Use it as a guide, not a scraper
With practice, you’ll barely need tools.
Optional Hacks (Surprisingly Effective)
– Jar shake: Place one egg + a splash of water in a jar, shake briefly to loosen shell
– Batch peeling: Tools like the Negg work, but a jar does nearly the same thing
– Cold-to-boil backup: If steaming isn’t possible, add eggs only once water is boiling.
Myths to Ignore
❌ Vinegar helps peeling
❌ Salt makes shells slide off
❌ Peeling warm eggs is easier
These either don’t work—or affect flavor without fixing the peel.
Storage Tip
Already peeled eggs?
– Wrap in a damp paper towel
– Store in an airtight container
– Refrigerate up to 5 days
Keeps whites from drying out or turning rubbery.
Final Takeaway
Clean-peeling eggs come down to fast heat, full chilling, smart entry, and water-assisted peeling. Steam when you can, ice thoroughly, start from the air pocket, and let water do the heavy lifting.
Once you lock in this method, peeling eggs stops being a chore—and starts feeling oddly satisfying 🥚✨